Hey everyone! Happy June! I am sooooo looking forward to the warmer weather: trips to the beach, walks after dinner, no heavy coats or boots, and a more relaxed state of mind.
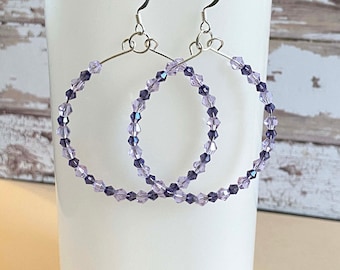
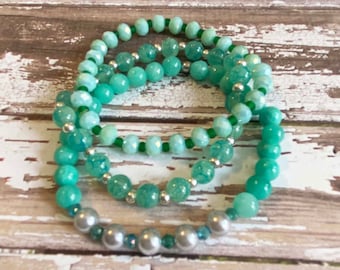
The warmer weather is also very inspiring to me, so I have some exciting news about Jewelry by Jeanette. I'm now curating designer jewelry making kits and offering free classes on YouTube that show how to make jewelry with them. They are beginner friendly and show tecniques in a step-by-step, easy-to-follow format.
Here are some photos of the first few kits, along with the jewelry that I show you how to make in my videos. Links to my Etsy shop and YouTube channel are below the photos. Thanks for visiting today. Remember to do something nice for someone today, and create something wonderful!


YouTube Channel: Jewelry by Jeanette